How to Use a Kalita Wave: A Beginner's Recipe
Some links below are affiliate links. We may earn a commission at no cost to you. As an Amazon Associate we earn from qualifying purchases.
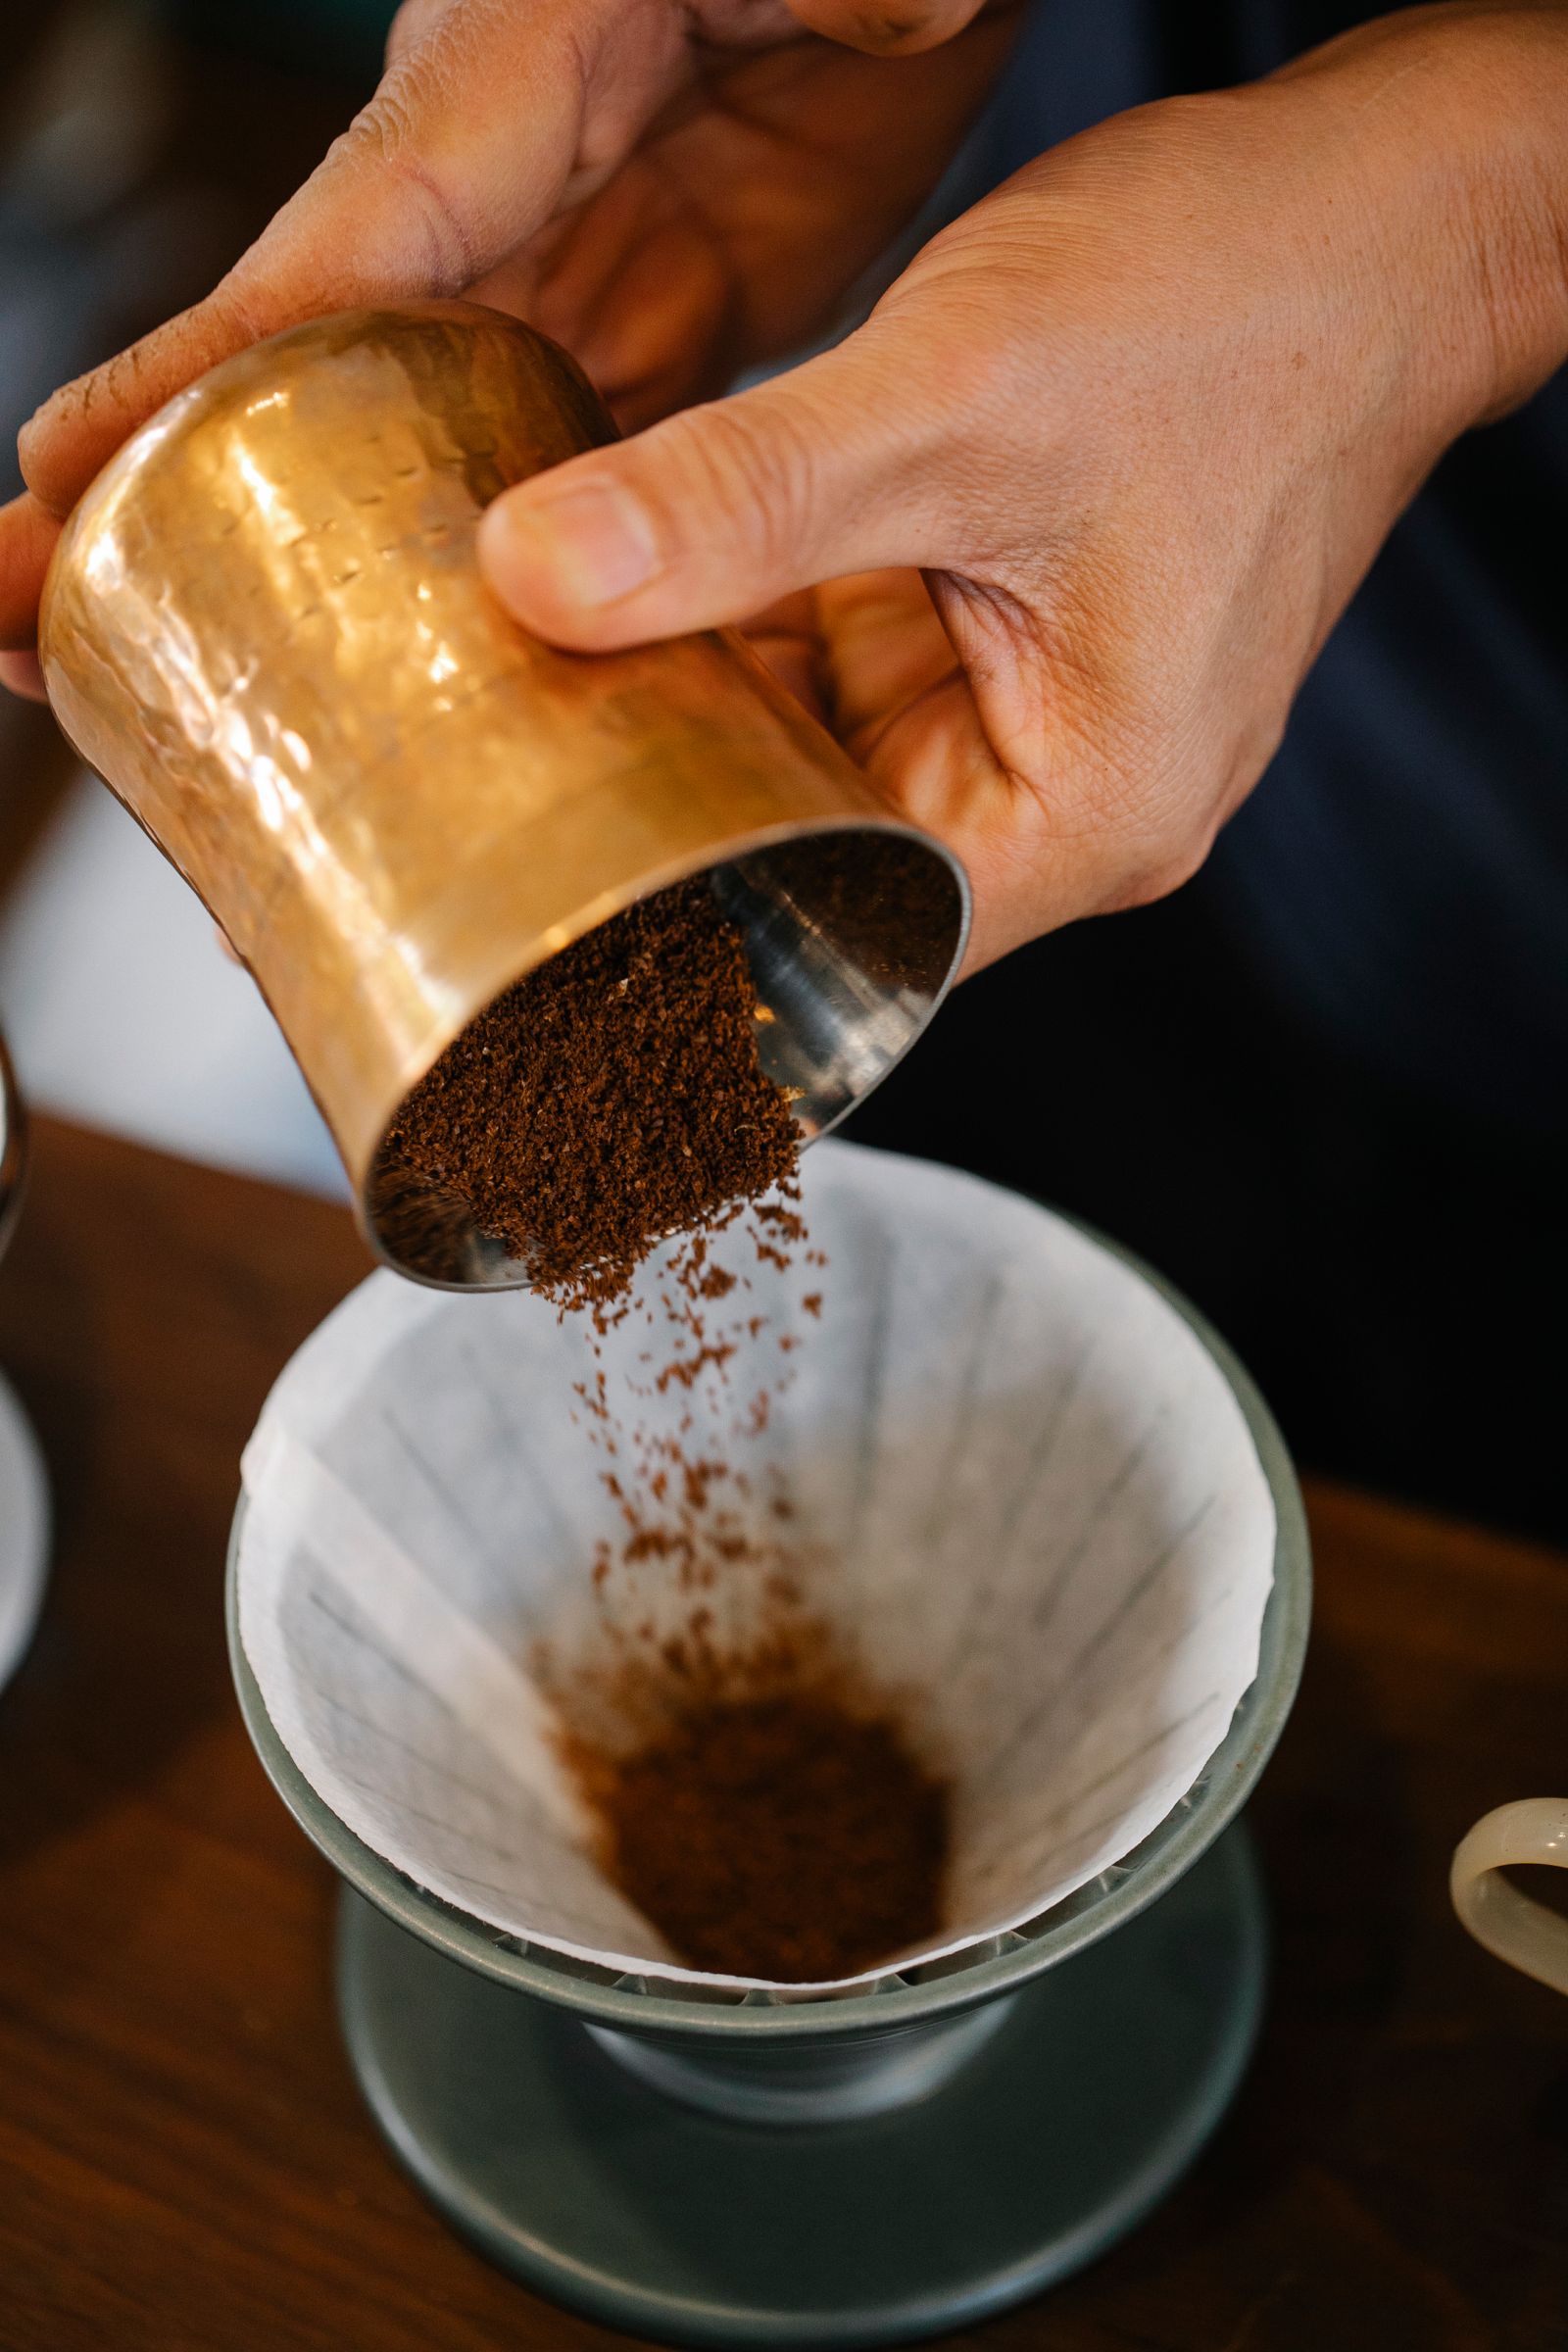
If you've just picked up a Kalita Wave, you've chosen one of the most beginner-friendly ways to brew pour-over coffee at home. Pour-over has a reputation for being fussy—one wobbly pour and your cup tastes sour or flat. The Kalita Wave is different. It's built to forgive small mistakes, which is exactly why so many people land their first genuinely good cup with it.
Why is it so forgiving? In one line: its design quietly evens out the brew even when your pour isn't perfect. We'll show you why below, then hand you a simple step-by-step recipe you can repeat tomorrow morning.
A quick note on the name. Kalita is a Tokyo-based coffee-equipment maker, and the Wave is its flat-bottom dripper—a Japanese take on pour-over that trades the steep cone for a level bed of coffee. It's a small design choice with a big effect on how easy the brew is to control.
One bit of housekeeping so you don't get lost: this guide stays focused on the Kalita Wave itself. If you're brand new to pour-over as a whole, start with our complete guide to Japanese pour-over coffee. And if you'd rather brew with a cone, we cover that separately in our Hario V60 recipe. Here, it's all Wave.
Why the Kalita Wave is so forgiving (the design, explained)
The Wave's beginner-friendliness isn't marketing—it comes from three specific design choices working together. Understanding them takes about two minutes and makes every step later make sense.
Flat bottom vs. the V60's cone
The biggest difference between the Wave and a cone dripper like the Hario V60 is the shape of the bed your coffee sits in.
A V60 is a steep cone, so water is guided toward a single point in the center and drains quickly. That focus is powerful in skilled hands, but it also means how you pour matters a lot—pour unevenly and the extraction goes uneven with it.
The Wave sits on a flat bottom, so your coffee forms a level bed and water is slowed and forced to pass through the whole bed more evenly. The payoff for a beginner: the brew is more even and far less sensitive to small pouring errors. You don't have to draw a perfect spiral to get a balanced cup.
The 3 holes (slower, steadier drawdown)
Look at the underside of a Wave and you'll see three small holes instead of one big opening. Because the water exits through three small holes rather than one large one, the flow is restricted just enough that a little water pools at the bottom before it drains, which keeps the drip speed steady. The result is a more consistent drainage rate than a single large hole—so your timing doesn't have to be precise to get a good result.
The Wave filter (keeps grounds off the walls)
The Wave uses its own wave filter—a flat-bottomed paper filter with 20 accordion-style ridges around the rim. Those ridges keep the paper from collapsing against the dripper walls, leaving an air gap between the filter and the cone. That air gap reduces contact with the dripper and helps the bed hold a steadier temperature, while the shape nudges water toward the center—so extraction stays more even from start to finish.
One important heads-up for beginners: the Wave needs its own filters. A V60's cone-shaped paper will not work here. And the filters come in two sizes—155 and 185—which are not interchangeable, so buy the size that matches your dripper.
155 or 185? Pick your size first
Before we touch a single number, decide which Wave you're brewing with. This is the most common point of confusion for beginners, and it's easy to settle. The Kalita Wave comes mainly in two sizes—155 (small) and 185 (large). The number refers to the diameter in millimeters across the top of the dripper.
Kalita Wave 155 — one cup
The 155 is built for a single cup (or two small ones). As a rough guide, Kalita suggests roughly 18–24 g of coffee for about 12–16 fl oz (≈350–470 mL) of finished coffee. It's the right pick if you almost always brew for one.
Kalita Wave 185 — one to four cups
The 185 is the versatile workhorse, good for one to four cups. As a rough guide, plan on roughly 26–45 g of coffee for about 16–26 fl oz (≈470–770 mL) of finished coffee. If you're torn between the two, go with the 185—it can still brew a small batch but gives you room to make more.
A quick word on materials. The Wave comes in three families: stainless steel, glass, and ceramic (the ceramic version is made from Mino ware—Mino-yaki—a centuries-old style of Japanese pottery from Gifu Prefecture). Glass and ceramic hold heat well but need a preheat with hot water before you brew; stainless steel is the tough, won't-shatter option. Pick whichever fits your routine—it won't make or break the cup.
When you're ready to buy, you'll need a matching Kalita Wave dripper and Wave filters in your chosen size.
Get the gear: Kalita Wave 185 (stainless) · Fellow Stagg EKG kettle — or see how it stacks up in our ranked dripper guide.
What you'll need
You don't need much to brew a great cup on the Wave:
- Kalita Wave dripper (155 or 185)
- Wave filters in the matching size (regular cone filters won't fit)
- Gooseneck kettle for a controlled pour
- Scale with a timer so you can brew by weight
- Burr grinder for an even grind
- Fresh whole beans
- A carafe or mug to brew into
A scale and a gooseneck kettle are the two tools that make pour-over repeatable: the scale lets you hit the same coffee-to-water ratio every time, and the gooseneck gives you a slow, aimable stream. That said, the Wave is forgiving enough that you can still get a solid cup without a gooseneck while you save up for one.
If you want to develop a feel for the pour itself—the height, the pace, the gentle swirl—we break that down in how to brew pour-over like a Japanese café.
The Kalita Wave recipe (the ratio and your numbers)
The single most important number in pour-over is your ratio—how much water you use per gram of coffee. For the Wave, a range of 1:15 to 1:16 works well, and if you're unsure, start at 1:16 (16 grams of water for every gram of coffee). Measure everything in grams: weight is far more accurate than scoops or "cups," and accuracy is what makes a recipe repeatable.
Your numbers by size
| Dripper | Coffee | Water | Yields |
|---|---|---|---|
| Wave 155 | ~17–18 g | ~280–300 g (≈9.5–10 fl oz) | ≈1 cup |
| Wave 185 (small) | ~20 g | ~320 g (≈11 fl oz) | small batch |
| Wave 185 (multi-cup) | ~28–30 g | ~450–480 g (≈15–16 fl oz) | multiple cups |
Here's the reassuring part: the recipe works the same way for both sizes. The method doesn't change—only the amounts do. Once you can brew on a 185, you already know how to brew on a 155.
The theory behind ratios—why 1:16 lands where it does, how to push it stronger or lighter—lives in our Japanese pour-over guide so we don't repeat it here.
Dial in your grind and water temperature
Grind size
Aim for a medium grind—a touch coarser than you'd use for a V60. A useful visual is somewhere between table salt and coarse sea salt. Grind too coarse and the water rushes through, giving you a weak, sour cup. Grind too fine and the brew slows down, clogs, and turns bitter. The good news: the Wave runs reliably on a plain medium grind, so you have less dialing-in to do than with a cone.
Water temperature
Brew between 195–205°F (90–96°C)—the range recommended by the Specialty Coffee Association. If you don't have a thermometer, take the kettle off the boil and wait about 30–45 seconds. Lean hotter for light roasts and a touch cooler for dark roasts, which extract more easily.
The beginner's recipe (step by step)
This is the section to bookmark. We'll use the Wave 185 with 20 g of coffee and 320 g of water (a 1:16 ratio) as our reference brew. Brewing on a 155? Just swap in the smaller amounts from the table above—every step stays the same.
At a glance
- Coffee: 20 g
- Water: 320 g
- Ratio: 1:16
- Grind: medium
- Temperature: 200°F (93°C)
- Total brew time: ~2:45–3:30
Step by step
- Place the wave filter in the dripper. Drop the filter in as-is and press it gently so the flat bottom sits flush. (No special folding needed—the ridges hold their shape.)
- Rinse the filter and preheat. Pour hot water through the empty filter to rinse off any papery taste and warm the dripper and carafe—this matters most for glass and ceramic, which start cold. Discard the rinse water before you brew.
- Add coffee, level the bed, and tare to zero. Pour in your 20 g of grounds, give the dripper a light shake so the bed is flat, then zero out your scale. Because the bottom is flat, the coffee bed levels itself easily—your first taste of why the Wave is forgiving.
- Bloom. Pour about 40–60 g of water (roughly twice the weight of the coffee) just to wet all the grounds, then wait 30–45 seconds. This "bloom" lets the coffee release trapped CO2 so the rest of the water can extract evenly. A gentle swirl, or a slow pour from the center outward, helps here.
- Pour in pulses. Instead of one long pour, add the water in a few stages—this is called a "pulse pour." For example, pour up to ~150 g, pause and let the water level settle, then up to ~250 g, pause again, then up to your full 320 g. Because the bottom is flat, you don't need to trace a perfect circle for the brew to come out even—this is the beginner's safety net.
- Let it draw down. Wait for the water to drain through completely. Your target total brew time is about 2:45–3:30.
- Swirl and serve. Give the carafe a gentle swirl to mix the brew, then pour and enjoy.
Each step has a reason behind it, and the recurring theme is the same: the Wave's flat bed and steady drawdown mean small imperfections don't wreck your cup.
If you want to refine the feel of the pour—how high to hold the kettle, how to move the stream, when to swirl—see how to brew pour-over like a Japanese café.
Troubleshooting (fixing a slow or off-tasting brew)
Brewing too slow / water pooling / clogging
The usual culprit is a grind that's too fine, or a filter that's sealed too tightly against the walls. Fix it by going one step coarser on your grinder and lightly reshaping the filter so its ridges stand off the dripper.
Draining too fast / weak and sour
This points to a grind that's too coarse or a pour that's too fast. Go one step finer, and slow your pulses down so the water has time to extract.
Bitter
Bitterness usually means the grind is too fine, the water is too hot, or the brew ran too long. Try one step coarser, drop your temperature a few degrees, and aim for the shorter end of your target time.
The Wave is forgiving, but it isn't magic—and the great news is that most problems come down to grind size. Adjust that first, and you'll fix the cup most of the time.
FAQ
Can I use regular cone filters in a Kalita Wave?
No. The Wave needs its own flat-bottomed wave filter with the accordion ridges; a cone-shaped V60 paper won't fit or sit correctly. The filters also come in two sizes, 155 and 185, so match the filter to your dripper.
Is the Kalita Wave better than the V60 for beginners?
Generally, yes—the Wave's flat bottom and three-hole base make it more forgiving of an imperfect pour, so beginners tend to get a good cup sooner. The V60 offers more control and range once your technique improves; see our Hario V60 recipe.
Do I need a gooseneck kettle for the Kalita Wave?
It helps, because a gooseneck gives you a slow, aimable stream. But thanks to the flat bottom, the Wave is forgiving enough that you can still brew a decent cup without one while you get started.
155 or 185—which should I buy?
If you almost always brew for one, get the 155. If you sometimes make more, or you're not sure, get the 185—it handles both a single cup and a small batch. See the size section above for amounts.
Can I make iced coffee with a Kalita Wave?
Yes. Brew hot directly over ice—the Japanese "flash brew" method—for a bright, clean iced coffee. We walk through it in our guide to Japanese iced coffee (flash brew).
Start brewing
The Kalita Wave is the rare brewer that's hard to fail with. Its flat bottom, three holes, and ridged filter all work together to even out your brew—so you can focus on enjoying the coffee instead of stressing over a perfect pour. Start with today's cup using the 1:16 recipe above, and once it feels routine, play with your pulses and tune the temperature to your roast.
Curious about the story behind Japan's coffee culture? Step into our piece on what a kissaten is. And whenever you want the bigger picture on brewing by hand, our Japanese pour-over guide is the place to go next. However you got here, you now know how to use a Kalita Wave—so go make a great cup.