Hario V60 Recipe & Ratio: A Foolproof Guide (+ Kasuya 4:6)
Some links below are affiliate links. We may earn a commission at no cost to you. As an Amazon Associate we earn from qualifying purchases.
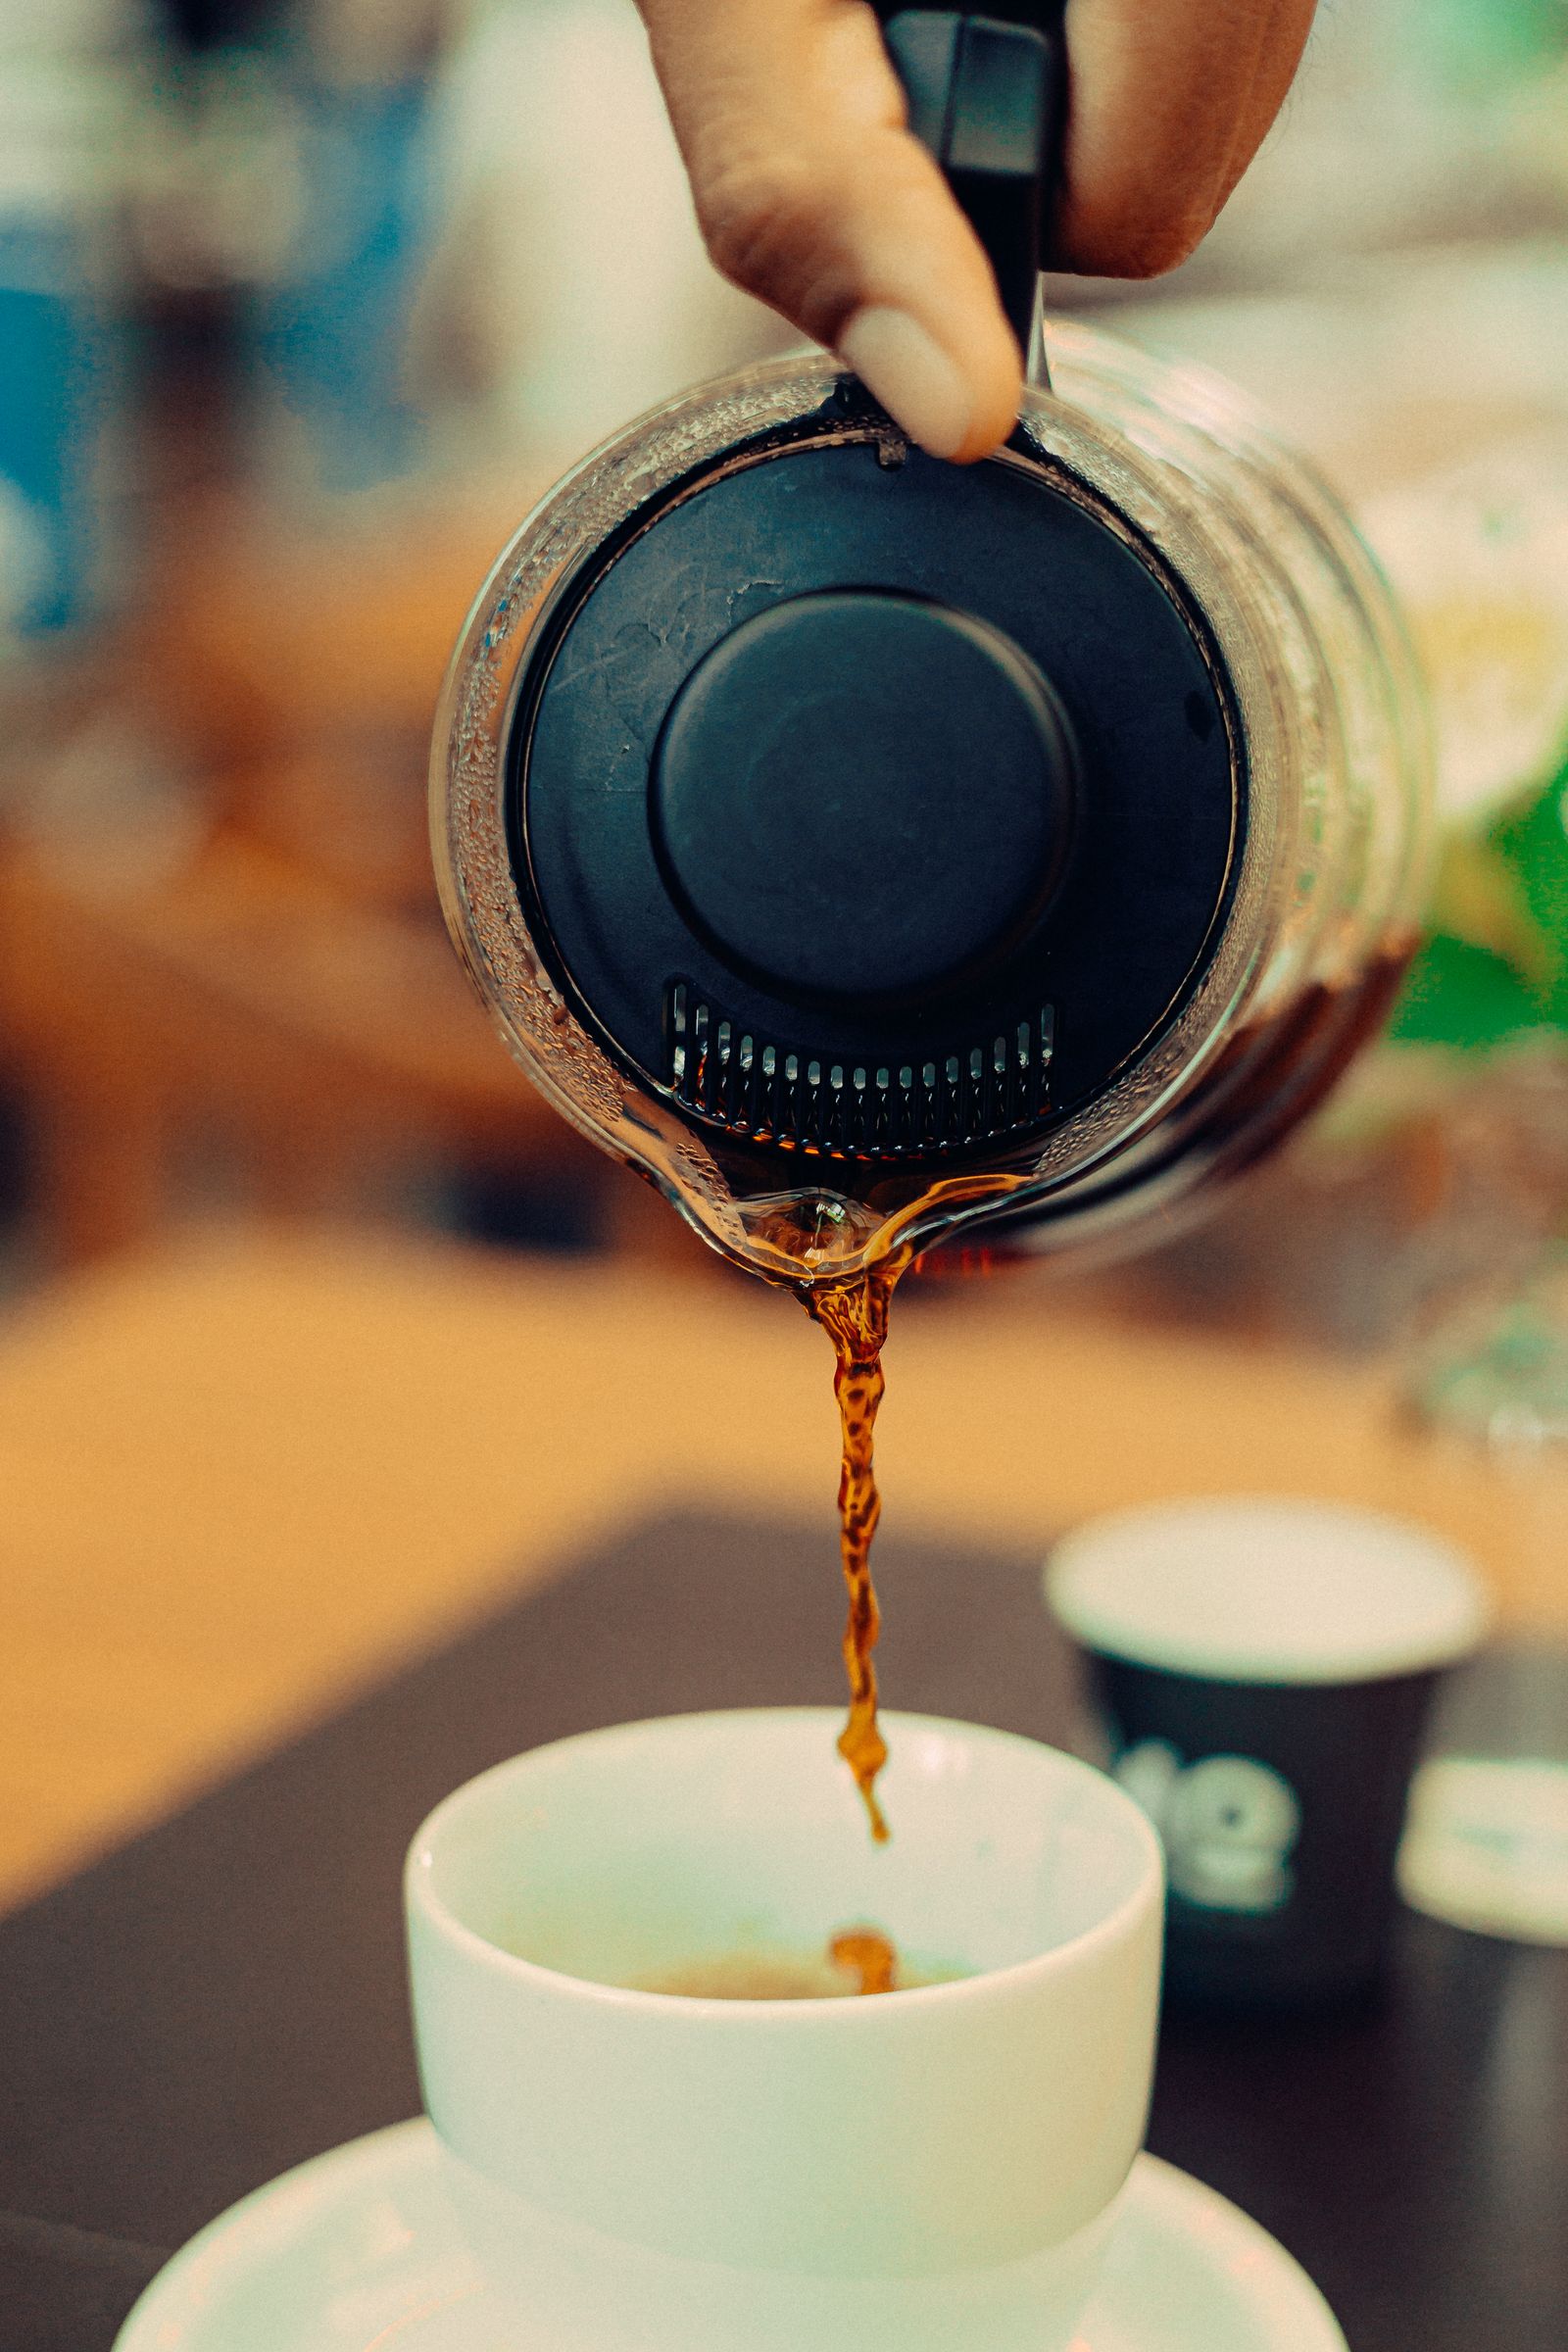
The Hario V60 doesn't make a great cup of coffee. Your recipe does. The dripper is just a clever cone with spiral ribs and a single large hole, so it hands you total control over the brew, for better or worse. Dial in the right numbers and it's almost foolproof. Wing it, and you get a different, usually disappointing cup every morning.
Most guides hand you fragments: a ratio here, a grind tip there, a pour schedule buried in a roaster's product page. This one is built to be the only page you need open. You'll get the exact ratio, grind, water temperature, and pour schedule for a balanced cup, all measured by the gram. Then we'll walk through the Tetsu Kasuya 4:6 method, the championship recipe from Japan, explained accurately and step by step.
One bit of housekeeping first: this article stays laser-focused on V60 numbers and technique. If you're brand new to pour over and want the big picture, including extraction theory and why Japan became its spiritual home, start with our complete guide to Japanese pour over coffee. For the feel of the pour, the way a Japanese café barista moves, we'll point you to a dedicated guide along the way.
What you'll need (and what you won't relearn here)
You don't need much, but each piece earns its place:
- A V60 dripper. Size 01 brews roughly one cup; size 02 covers one to two cups and is the most forgiving for beginners. When in doubt, get the 02.
- V60 paper filters. Cone-shaped, matched to your dripper size.
- A gooseneck kettle. The narrow spout lets you place water exactly where you want it, slowly and steadily. With a regular kettle you're guessing.
- A scale with a built-in timer. This one is non-negotiable. Coffee is a recipe, and recipes are measured by weight, not by eye.
- A burr grinder. Burrs produce an even grind; blade grinders produce chaos, and chaos means uneven extraction.
- Fresh beans, ideally roasted within the last few weeks.
We won't go deep on gear selection here; that would just repeat ground we cover elsewhere. If you want a feel for how the tools actually behave in a café setting, see how to brew pour over like a Japanese café.
Get the gear: Hario V60 (ceramic) · Fellow Stagg EKG kettle — or compare all four drippers in our ranked dripper guide.
The V60 ratio (start here)
Everything begins with the coffee-to-water ratio: how many grams of water you use per gram of coffee. For V60, aim somewhere in the 1:15 to 1:17 range.
If you only remember one number, make it 1:16. It lands right in the middle: balanced, and hard to mess up. From there, a lower ratio like 1:15 gives you a stronger, more concentrated cup, while a higher ratio (around 1:16.7, the figure James Hoffmann favors) leans lighter and more delicate. New to ratios in general? Our coffee ratios guide explains how they shape strength and taste across every brew method.
Why ratio beats "scoops"
A "scoop" of coffee can weigh wildly different amounts depending on the bean, the roast, and how you fill it. Water "by the cup" is just as vague. Weighing both coffee and water in grams is the single biggest upgrade you can make, because it turns a guess into a repeatable recipe. Once you brew by weight, a great cup becomes something you can hit again tomorrow.
Pick your cup size: a quick ratio table
These are sized for everyday brewing. The one-cup row uses 15 g to 250 g, a hair lighter than 1:16 and a popular single-cup standard; the larger rows sit right at 1:16.
| Brew size | Coffee | Water | Ratio | Approx. volume |
|---|---|---|---|---|
| 1 cup | 15 g (0.5 oz) | 250 g (8.5 fl oz) | ~1:16.7 | ~1 mug |
| 2 cups | 25 g (0.9 oz) | 400 g (13.5 fl oz) | 1:16 | ~2 mugs |
| Large / carafe | 30 g (1.1 oz) | 480 g (16 fl oz) | 1:16 | small carafe |
The theory behind why ratio shapes strength and extraction lives in our complete guide to Japanese pour over, so we won't repeat it here.
Dial in your grind, water temp, and bloom
Grind size
For a standard V60 recipe, go medium-fine, roughly the texture of table salt. Too coarse and the water rushes through, giving you a sour, weak, watery cup. Too fine and it chokes the filter, over-extracting into something bitter and slow.
Water temperature
Brew between 195–205°F (90–96°C). A simple shortcut: let the kettle come off the boil for about 30 to 60 seconds. Nudge it hotter for light roasts (they're denser and need the energy) and a touch cooler for dark roasts (they extract easily and turn bitter when scalded).
The bloom
When hot water first hits fresh coffee, the grounds release trapped CO₂ and puff up like a dome. That outgassing pushes water away and causes uneven extraction, so we "bloom" first to let the gas escape. Pour roughly twice the weight of your coffee in water (about 30 g for 15 g of coffee), give it a gentle swirl, and wait 30 to 45 seconds.
The foolproof V60 recipe (step by step, by the gram)
This is the heart of the article. We'll brew one cup: 15 g of coffee, 250 g of water. Every step has a target weight and a target time, so anyone can reproduce it.
At a glance
| Setting | Value |
|---|---|
| Coffee | 15 g (0.5 oz) |
| Water | 250 g (8.5 fl oz) |
| Ratio | ~1:16.7 |
| Grind | Medium-fine |
| Water temp | 200°F (93°C) |
| Total brew time | ~2:45–3:30 |
Step by step
- Rinse the filter and preheat. Set the paper filter in the dripper and pour hot water through it into your carafe or mug. This rinses away papery taste and warms everything up. Discard that water.
- Add coffee, level the bed, tare to zero. Pour in 15 g of grounds, give the dripper a light shake so the bed is flat, then zero out your scale.
- Bloom. Start your timer and pour about 30–50 g of water, just enough to wet all the grounds. Swirl gently or give a light stir, then wait 30–45 seconds.
- First main pour. Pour slowly in concentric circles until the scale reads about 150 g total.
- Second pour. Continue, outside-in toward the center, until you reach 250 g total. Keep agitation to a minimum.
- Drawdown. Let the water finish draining. Your target total brew time is roughly 2:45 to 3:30.
- Swirl and serve. Give the carafe a gentle swirl to even out the strength, then pour.
The sensory side of pouring (how high to hold the kettle, how to draw the circles, how much to swirl) is its own skill. We break down that feel in our guide to brewing pour over like a Japanese café.
The Kasuya 4:6 method (a champion's recipe, explained from Japan)
Now the fun part. Tetsu Kasuya is a Japanese barista who won the 2016 World Brewers Cup (a global competition judged purely on brewing skill, held that year in Dublin, Ireland). He was the first Asian champion in the event's history, and he won using a V60 and a method so simple it has since become a worldwide standard: the 4:6 method.
What makes it special isn't just the recipe, it's that the recipe is adjustable. Once you understand it, you can deliberately design your cup to be sweeter, brighter, or stronger.
The idea: split the water 4:6
Divide your total water into two parts: the first 40% and the last 60%.
- The first 40% controls flavor balance: how much sweetness versus acidity you taste.
- The last 60% controls strength: how concentrated the cup is.
That single split is the whole concept. Master it and you're tuning two dials independently.
The numbers (Kasuya's original)
- Coffee: 20 g (0.7 oz). Water: 300 g (10.5 fl oz). Ratio: 1:15.
- Five pours of 60 g each, poured at even 45-second intervals.
- Pour timing: 0:00, 0:45, 1:30, 2:15, and 2:45.
- Total brew time: about 3:30 (lift the dripper out once the water has drained).
The first two pours (60 g + 60 g = 120 g, the "4") make up your 40%. The last three pours (60 g × 3 = 180 g, the "6") make up your 60%.
Grind and temperature: Kasuya brews coarser than a standard V60 recipe, closer to a French press grind. He also sets temperature by roast level: light around 200°F (93°C), medium around 190°F (88°C), dark around 181°F (83°C).
Tune it to your taste
This is where the 4:6 method earns its reputation. You adjust the two halves separately.
To change flavor (the first 40%, your first two pours):
- Sweeter → make the first pour smaller and the second pour larger (for example, 50 g then 70 g).
- Brighter / more acidity → make the first pour larger than the second.
To change strength (the last 60%, your last three pours):
- Stronger → split that 60% into more pours.
- Lighter / cleaner → use fewer pours.
Why two recipes? When to use which
Think of them as complementary, not competing. The foolproof recipe is your reliable all-rounder, the one that gives you a balanced cup every time without thinking. The Kasuya 4:6 method is for when you want to design the cup: to coax sweetness out of a fruity Ethiopian or build body into a chocolatey Brazilian. Start with the foolproof recipe to build confidence, then graduate to 4:6 when you want to play.
If you're curious why this kind of precise, intentional brewing took root in Japan, our Japanese pour over guide covers the culture, and our explainer on what a kissaten is (the classic Japanese coffee house) sets the historical scene.
Troubleshooting your V60
| Problem | Likely cause → fix |
|---|---|
| Too bitter | Over-extracted → grind coarser, lower the water temp, or brew faster |
| Too sour or weak | Under-extracted → grind finer, use hotter water, or pour more slowly |
| Brew too slow / stalls | Grind too fine or bed clogged → grind coarser, pour gentler, reseat the filter |
| Brew too fast / thin | Grind too coarse → grind finer, use fewer and steadier pours |
If you want the reasoning behind these fixes (how grind, temperature, and time push extraction up or down), that theory lives in our complete Japanese pour over guide.
FAQ
What's the best V60 ratio?
Start at 1:16, which gives a balanced cup. From there, work within a 1:15 to 1:17 range: lower for a stronger brew, higher for a lighter, more delicate one. Ratio is personal, so treat 1:16 as your home base and adjust from there.
What grind size should I use for a V60?
Medium-fine, about the texture of table salt, for a standard recipe. If your cup is bitter, go coarser; if it's sour or weak, go finer. The Kasuya 4:6 method is the exception; it calls for a noticeably coarser grind.
01 vs 02, which size should I buy?
The 02 is the safer pick for most people: it handles one to two cups and is more forgiving while you learn. Go 01 only if you brew single cups exclusively.
Can I do the 4:6 method without a champion's skill?
Yes. Because all five pours are equal (60 g each) and spaced evenly, the 4:6 method is genuinely beginner-friendly; you just hit five weight targets on the scale at five time marks. The fancy tuning is optional.
Do I really need a gooseneck kettle?
You don't strictly need one, but it gives you far more control over where and how fast water lands, which is most of what good pour over is. See how café baristas use that control in our Japanese café brewing guide.
The bottom line
The V60 rewards consistency. Lock in your ratio and timing and you'll pull a balanced cup every single time, no luck required. Use the foolproof recipe to build that reliable foundation, then reach for the Kasuya 4:6 method when you want to design flavor on purpose. Either way, you're brewing by the gram, which means every good cup is one you can make again.
Ready for the bigger picture? Step back and see how it all fits together in our complete guide to Japanese pour over coffee.